In this guide, we will see step by step how to integrate this code into Elementor and apply the animation.
Add custom code in Elementor
- Go to your WordPress dashboard.
- Navigate to Elementor > Custom Code.
- Click on Add New Code.
- Name it, for example:
Texte Reveal Scroll. - Paste the following code, choosing the location </body> – End
 :
:
<script src="https://unpkg.com/split-type"></script>
<script src="https://cdnjs.cloudflare.com/ajax/libs/gsap/3.10.4/gsap.min.js" crossorigin="anonymous" referrerpolicy="no-referrer"></script>
<script src="https://cdnjs.cloudflare.com/ajax/libs/gsap/3.10.4/ScrollTrigger.min.js" crossorigin="anonymous" referrerpolicy="no-referrer"></script>

<style>
.textRevealOnScroll .elementor-heading-title .line {
  background: linear-gradient(to right, #FFF 50%, rgba(182,182,182,0.2) 56%);
  background-size: 230% 100%;
  background-position-x: 100%;
  color: transparent;
  background-clip: text;
  -webkit-background-clip: text;
}
</style>

<script>
window.addEventListener('load', function() {
  gsap.registerPlugin(ScrollTrigger);

  ScrollTrigger.defaults({
    scroller: document.documentElement
  });

  let configObject = {
    limitCallbacks: true,
    ignoreMobileResize: true,
    autoRefreshEvents: "load",
  }
  ScrollTrigger.config(configObject);

  let revealContainers = document.querySelectorAll('.textRevealOnScroll .elementor-heading-title');

  revealContainers.forEach(e => {
    let text = new SplitType(e, { types: "lines" });

    let options = {
      backgroundPositionX: "0%",
      stagger: 0.4,
      scrollTrigger: {
        trigger: e,
        scrub: 2,
        start: "top 60%",
        end: "bottom 50%"
      }
    };

    let anim = gsap.to(e.querySelectorAll(".line"), options);

    let windowsWidth = window.innerWidth;
    window.addEventListener("resize", function() {
      if (windowsWidth !== window.innerWidth) {
        anim.kill();
        text = new SplitType(e, { types: "lines" });
        anim = gsap.to(e.querySelectorAll(".line"), options);
        windowsWidth = window.innerWidth;
      }
    });
  });
});
</script>
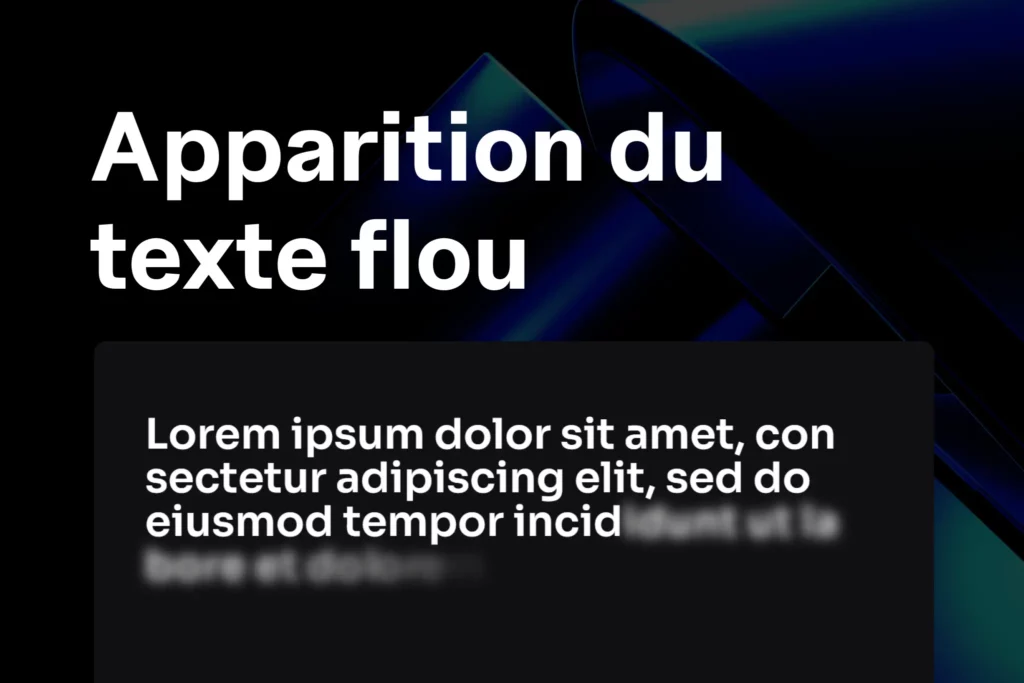
This code automatically loads the SplitType, GSAP, and ScrollTrigger libraries, then applies the animation only to elements containing the class .textRevealOnScroll.
Add a Title with the Class
- Open a page with Elementor.
- Add a Heading widget (
Heading). - In Advanced Settings > CSS Classes, enter:
.textRevealOnScroll
Your heading is now ready to animate on scroll!
Test the Animation
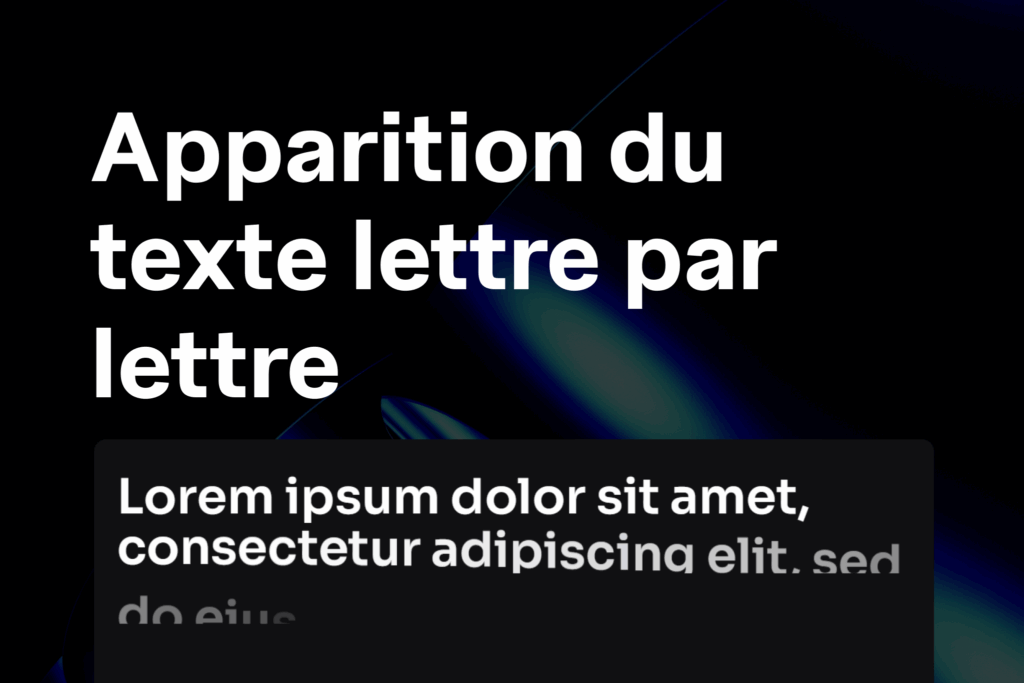
- Scroll down your page and observe your headings: each line will be revealed with a smooth gradient effect.
- If you resize the window, the code automatically adapts to recalculate the lines.
Expected Result
✅ Headings are revealed progressively on scroll, line by line.
✅ The effect is dynamic and modern, perfect for a landing page or portfolio.
✅ Compatible with Elementor and easy to customize.
Customize the Effect
- Colors: modify the value of “background: linear-gradient(to right, #FFF 50%, rgba(182,182,182,0.2) 56%);” in the CSS.
- Speed: adjust “
scrub: 2” in GSAP to speed up or slow down. - Start/End: adjust
start: "top 60%"andend: "bottom 50%"to control when the effect starts.
With this tutorial, you now have an ultra-modern scroll text effect that will give your Elementor pages a high-end style!